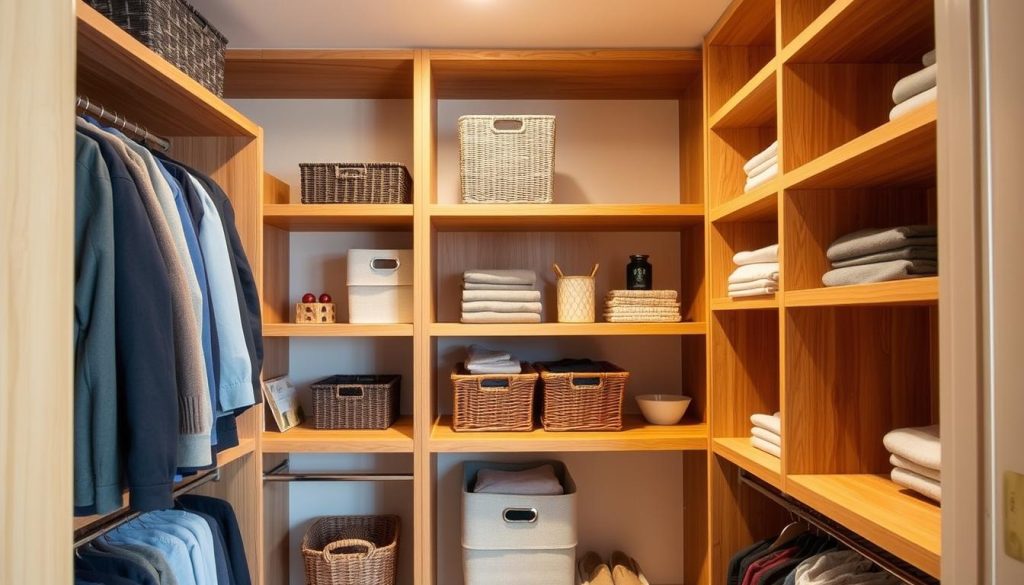
Turning a messy closet into a neat storage area is easy and cheap. DIY closet shelves are a great way to save money and make your space your own. With simple tools and a bit of planning, you can build shelves that fit your needs perfectly.
Organizing your closet is more than just cleaning up. It’s about making a space that makes your life easier. Whether your closet is small or big, custom shelves can change how you store and find things.
Building your own shelves lets you design them just right. You’ll spend less than hiring someone and feel proud of your unique storage solution.
Key Takeaways
- DIY closet shelves are cost-effective and customizable
- Personalized storage solutions improve organization
- Basic tools and planning can transform your closet space
- Custom shelving increases storage efficiency
- Homeowners can create professional-looking results with careful preparation
Understanding the Benefits of Custom Closet Shelving
Creating custom shelving turns your storage into something amazing. DIY solutions help you save money and organize better. They let you design spaces that fit your life and needs perfectly.
Custom shelving brings big benefits beyond just keeping things tidy. By doing it yourself, you can make storage that’s just right for you.
Cost Savings Compared to Professional Installation
DIY shelving saves a lot of money compared to hiring pros. Professional closet systems can cost $1,000 to $5,000. But, DIY can be from $100 to $500. You can save a lot this way.
- Reduced labor costs
- Direct material selection
- Customized design without premium pricing
- Complete control over budget
Personalization Advantages
Custom shelving lets you design storage that fits your space perfectly. Unlike generic shelves, DIY ones can be made to match:
- Unique room dimensions
- Personal clothing collection
- Specific storage requirements
- Individual aesthetic preferences
Long-term Storage Solutions
Good custom shelving adapts as your needs change. These solutions grow with you, making it easy to change and add to them. By putting time into making flexible shelving, you’ll have a system that works for years.
Essential Tools and Materials for Building Closet Shelves
Starting woodworking projects for home improvement needs careful planning and the right tools. Building custom closet shelves requires specific tools and materials. These ensure a successful and professional-looking result.
Before starting your home improvement project, gather these essential tools:
- Power drill with various drill bits
- Stud finder
- Level
- Measuring tape
- Pencil
- Circular saw or handsaw
- Safety glasses
- Work gloves
For materials, choose the right components for your closet design and budget:
| Material Type | Pros | Best For |
|---|---|---|
| Melamine Shelving | Affordable, Easy to Clean | Budget-Friendly Projects |
| Solid Wood | Durable, Attractive Finish | High-End Custom Shelving |
| Plywood | Lightweight, Strong | Versatile Woodworking Projects |
Professional woodworkers suggest investing in quality materials that fit your home improvement goals. Choosing the right tools and materials makes your closet shelving project smoother and more enjoyable.
Planning Your Closet Storage Space
Starting a closet redesign means planning carefully. You need to measure and design smartly to make your space efficient. Before you start building, create a detailed plan to use every inch wisely.
Measuring Your Closet Dimensions
Getting your closet’s measurements right is key. Use a tape measure and follow these steps:
- Measure the width, height, and depth of your closet space
- Note any obstacles like electrical outlets or vents
- Measure the height of hanging clothing items
- Record the total available vertical and horizontal space
Creating a Layout Design
Designing a layout is important for saving space. Sketch your closet on graph paper or use a digital tool. Think about what you need to store, like:
- Hanging spaces for different clothing lengths
- Shelf locations for folded items
- Potential drawer or basket insertions
- Accessory storage areas
Considering Weight Distribution
It’s vital to distribute weight evenly for stable shelves. Figure out how much your items will weigh and choose strong materials. Use solid brackets and mount securely to studs for support.
Professional tip: Always leave some extra space for future storage needs and flexibility in your closet redesign plan.
Choosing the Right Materials for DIY Closet Shelves
Choosing the right materials for your shelves is key to a functional and stylish closet. Each material has its own benefits for DIY projects, helping you tailor your space perfectly.
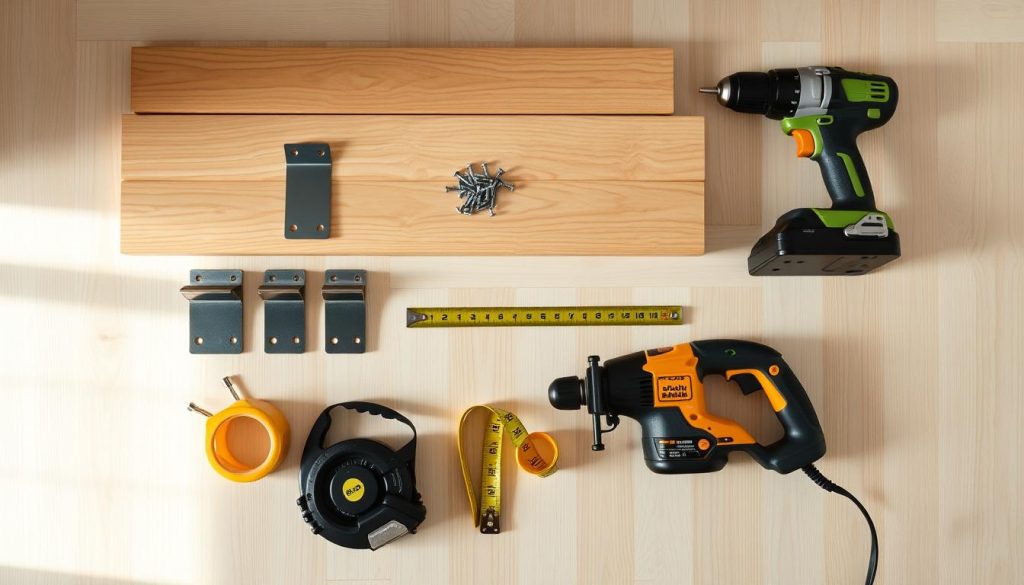
Wood is a top pick for shelves, offering durability and a timeless look. Plywood and pine are great for budgets, fitting most designs. Solid wood, like oak, is strong but pricier.
- Plywood: Affordable and lightweight
- Solid wood: Maximum durability
- Laminate: Low-maintenance surface
- Wire shelving: Excellent ventilation
Modern ideas include materials that save money without sacrificing quality. Laminate shelves are sleek and easy to clean. Wire shelves improve air flow, perfect for clothes and preventing dampness.
| Material | Cost | Durability | Aesthetic Appeal |
|---|---|---|---|
| Plywood | Low | Medium | Basic |
| Solid Wood | High | High | Premium |
| Laminate | Medium | Medium | Modern |
| Wire Shelving | Low | High | Minimalist |
Think about your budget, storage needs, and style when picking materials for your DIY shelves. Each choice has its own perks, making your storage space organized and efficient.
Safety Considerations and Preparation
Starting home improvement and woodworking projects needs careful planning and a focus on safety. Protecting yourself and ensuring a successful project begins with knowing key safety steps before starting your DIY closet shelving journey.
Professional woodworking projects require careful attention to safety rules. Preparing your workspace and knowing potential risks can prevent accidents and make your home improvement journey smoother.
Wall Structure Assessment
Before installing closet shelves, it’s important to check the wall structure. Different walls need different mounting methods:
- Drywall with wood studs
- Plaster walls
- Concrete or brick surfaces
- Existing wall framing
Building Code Requirements
| Building Code Aspect | Key Considerations |
|---|---|
| Load Capacity | Maximum weight per linear foot of shelving |
| Mounting Height | Minimum distance from floor and ceiling |
| Fire Safety | Material fire resistance ratings |
| Structural Integrity | Proper attachment to building framework |
Personal Protection Equipment
Woodworking projects need specific safety gear to protect you during installation:
- Safety glasses
- Work gloves
- Dust mask
- Ear protection
- Steel-toed boots
By focusing on safety in your home improvement and woodworking projects, you’ll create a safe space for making beautiful, functional closet shelves.
Step-by-Step Guide to Building Basic Closet Shelves
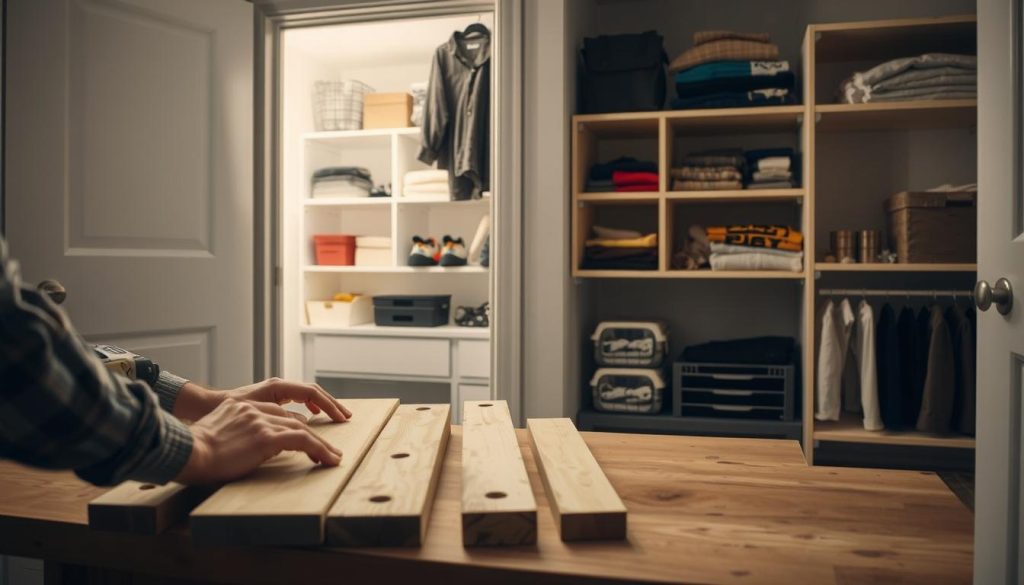
Building custom shelves for your closet is easy. With some planning and basic woodworking skills, you can change your storage space. Just break the project into simple steps that anyone can do.
Before you start, get these important materials:
- Wooden shelving boards
- Measuring tape
- Level
- Drill
- Shelf brackets
- Pencil
- Stud finder
Start by measuring your closet space carefully. Measure the width and depth. Standard shelf depth is 12-16 inches, based on your needs.
- Mark stud locations with a stud finder
- Figure out bracket spacing
- Drill holes for mounting
- Install support brackets
- Put in and secure shelving boards
When putting in shelves, make sure each bracket can hold the weight you expect. Most can hold 50-75 pounds. Always check the maker’s specs. Double-check your measurements and use a level for straight, professional shelves.
Installing Support Brackets and Standards
Building strong storage solutions for your closet shelves needs careful bracket and standard installation. The right steps keep your shelves stable and safe, even under heavy loads.
Starting with bracket installation means knowing the basics of support. There are many types of brackets for closet organization. Each one helps keep your space organized and looking good.
Bracket Spacing Guidelines
Spacing brackets right is key to avoiding sagging shelves and keeping them strong over time. Here are some important tips:
- Space brackets every 32 inches for wooden shelves
- Use closer spacing for heavier storage solutions
- Select brackets matching your shelf material’s weight capacity
Securing to Wall Studs
Attaching your shelves to wall studs gives the best support. Wall studs are much stronger than drywall anchors, making shelves less likely to fall.
| Bracket Type | Weight Capacity | Recommended Use |
|---|---|---|
| Standard Shelf Bracket | 50-75 lbs | Lightweight Storage |
| Heavy-Duty Bracket | 100-150 lbs | Medium Storage Needs |
| Industrial Bracket | 200+ lbs | Extreme Weight Requirements |
Always use a stud finder to find wall studs accurately. Drill pilot holes before screwing to avoid wood damage and ensure a solid hold for your storage.
Creative Storage Solutions for Small Closets
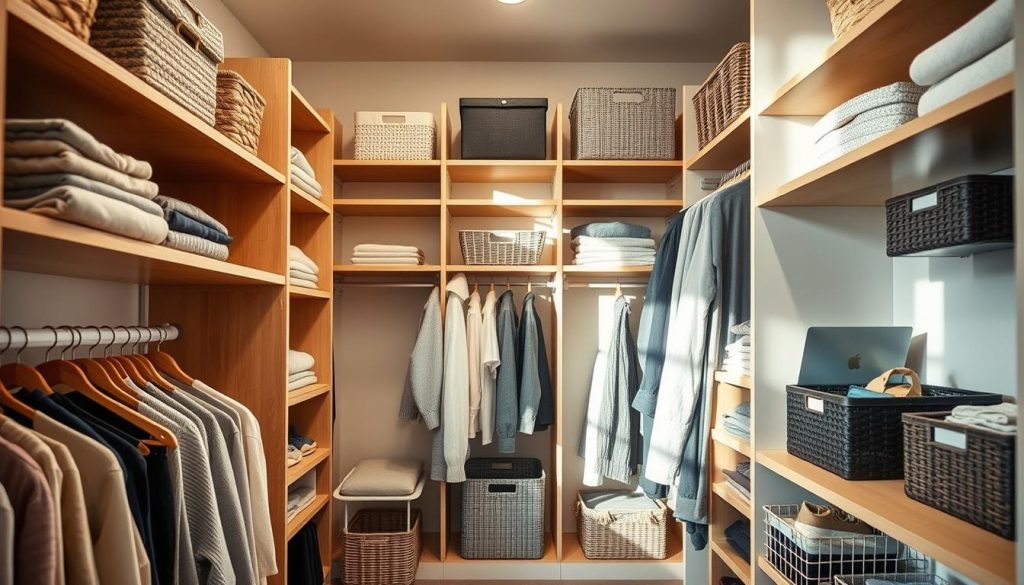
Small closets can seem like a storage challenge. But, with smart strategies, you can turn even the smallest space into a storage gem. The secret is to think up and use every inch creatively.
Space-saving ideas can help you make the most of your closet. Here are some smart ways to start:
- Install double-hanging rods to double your clothing storage capacity
- Use slim velvet hangers to create more room and prevent clothing slippage
- Incorporate over-the-door organizers for shoes, accessories, and small items
- Utilize shelf dividers to keep folded items neat and separated
- Add stackable clear storage boxes for seasonal clothing and accessories
Vertical storage is key in small closets. Use wall-mounted hooks, hanging organizers, and stackable bins to use every inch. Adjustable shelving lets you change your space as your needs do.
Organizing your closet is more than just fitting more stuff. It’s about making it easy to find what you need. With these ideas, even the smallest closet can become a tidy, organized space.
Maximizing Vertical Space with Adjustable Shelving
Changing your closet storage means using every inch of space. A smart closet redesign can greatly boost your storage. It does this by looking beyond the usual horizontal setups.
Vertical shelving is super flexible for organizing items. Adjustable shelving systems let you make custom storage that fits your needs now and later.
Multiple Height Options
- Install adjustable shelf brackets that slide up and down
- Create different shelf heights for various clothing and accessory types
- Accommodate tall boots, folded sweaters, and hanging garments in one space
Utilizing Corner Spaces
Corner areas often go unused in closets. Clever shelving ideas can turn these tricky spots into useful storage areas.
- Use diagonal corner shelves to maximize unused space
- Install rotating lazy Susan-style shelving units
- Create custom triangular shelves that fit perfectly in corner sections
A well-thought-out closet redesign uses every storage chance. It turns unused vertical space into organized, efficient storage.
Adding Custom Features to Your Closet System
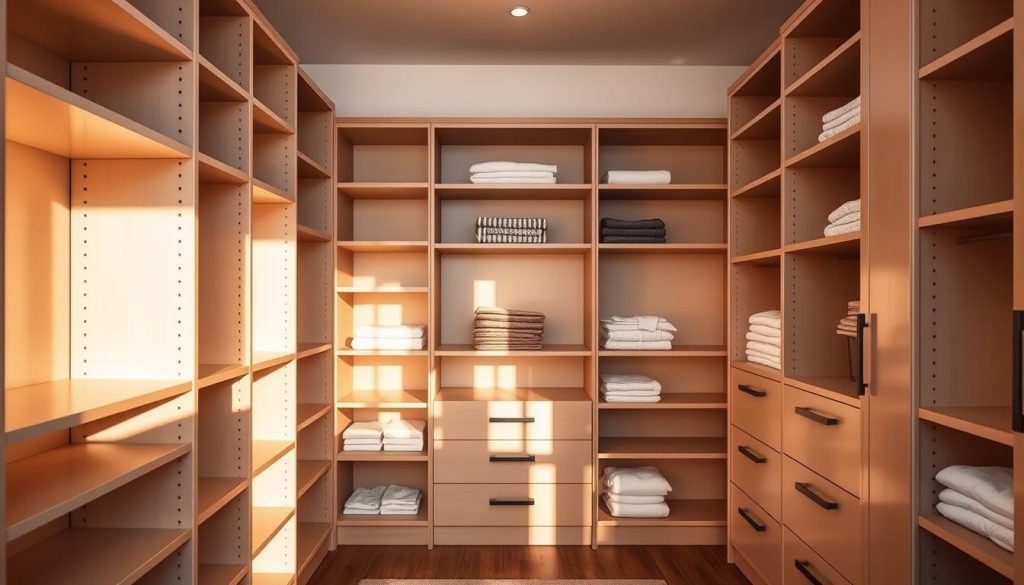
Turning your DIY closet shelves into a personalized storage solution is more than just setting them up. Custom shelving lets you use every inch of space. It also helps you create a storage system that fits your needs perfectly.
Smart storage solutions can make your closet much more efficient. Here are some cool custom features to take your shelving to the next level:
- Pull-out baskets for easy access to folded items
- Specialized shoe racks with angled or tiered designs
- Integrated tie and belt organizers
- Built-in drawers for hidden storage
- Adjustable hanging rods with multiple height options
When designing custom shelving, think about what you need. Look at your clothes, accessories, and daily habits. This way, your storage will be both useful and organized.
Experts say to use modular parts that can change with your needs. Add-ons like removable dividers and sliding parts make your shelving easy to adjust. This keeps your system flexible and easy to use.
If you’re watching your budget, don’t worry. You can add these custom features without spending a lot. Use materials like plywood, wire baskets, and simple hardware to save money.
Space-Saving Ideas for Clothes and Accessories
Mastering closet organization means planning smart and using space-saving tricks. Even small closets can become efficient with the right storage. The goal is to use every inch and keep things tidy.
Smart storage is more than just hanging clothes. Here are some ways to make the most of your closet:
- Use vertical hanging organizers for scarves, belts, and accessories
- Install slim profile hangers to reduce clothing bulk
- Implement multi-tier hanging rods for increased capacity
- Utilize door-mounted storage for small accessories
Drawer Integration Strategies
Drawers can make a big difference in closet organization. Choose drawers that slide well and have separate spots for small items. Adjustable dividers help fit different clothes sizes.
Hanging Rod Placement Techniques
Where you place hanging rods is key to saving space. Double-hanging rods can double your hanging space. Use shorter rods for shirts and pants, and longer ones for dresses and long clothes.
With these space-saving tips, your closet will be more organized and easier to use. It will make your daily routine simpler.
Finishing Touches and Paint Options
Adding the right finishing touches can make your DIY closet shelves look amazing. The paint or stain you pick is key to a polished look. It should match your space perfectly.
When choosing a finish, think about a few important things. Paint is versatile and can match your room’s decor. White or neutral tones are great for a modern look.
- Choose high-quality, moisture-resistant paint for durability
- Consider semi-gloss or satin finishes for easy cleaning
- Prep surfaces thoroughly before painting
- Use primer to ensure better paint adhesion
Wood stains are another option for your closet shelves. They bring out the wood’s natural beauty and add warmth. Dark stains can make your space look rich and sophisticated. Lighter stains can make it feel more open.
Pro tip: Always test your chosen paint or stain on a small, hidden area first. This ensures the color looks right and works well in your closet.
- Sand surfaces before applying stain or paint
- Use painter’s tape for clean, crisp edges
- Apply multiple thin coats for best results
- Allow adequate drying time between coats
Spending time on the finishing touches will make your project stand out. You’ll have closet shelves that look like they were made by a pro.
Maintaining Your DIY Closet Shelves
Building DIY shelves is just the start. Keeping them in good shape is key to their lasting beauty and function. With regular care, your closet will stay organized and look great for years.
Your custom shelves need ongoing attention to stay in top condition. Dust, moisture, and heavy items can wear them down over time.
Regular Inspection Strategies
- Check shelf brackets monthly for any signs of loosening
- Inspect wood surfaces for warping or water damage
- Test weight capacity periodically to prevent potential collapse
- Look for signs of wood rot or metal corrosion
Cleaning and Care Guidelines
Different materials need different cleaning methods:
- Wooden shelves: Use a soft cloth with mild wood cleaner
- Metal brackets: Wipe with dry cloth to prevent rust
- Laminate surfaces: Clean with non-abrasive household cleaner
- Avoid harsh chemicals that might damage shelf materials
Following these care tips will help your DIY shelves last longer. They’ll stay reliable and look great for many years.
Common Mistakes to Avoid in Shelf Installation
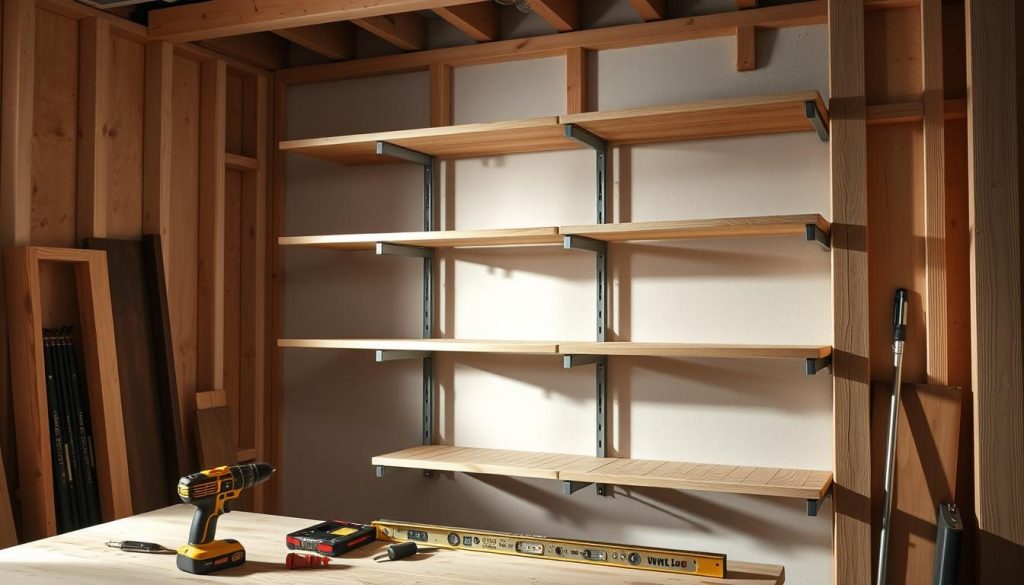
Woodworking projects, like making DIY closet shelves, can get frustrating if you make simple mistakes. Both seasoned DIYers and beginners often face issues that can mess up their storage solutions. These problems can affect how well the shelves work and how long they last.
To avoid common mistakes in DIY closet shelves installation, it’s important to know what to watch out for. Here are the main errors to steer clear of:
- Inaccurate measurements leading to ill-fitting shelves
- Failing to locate and secure brackets into wall studs
- Overlooking weight capacity limits for shelving materials
- Neglecting proper leveling during installation
- Using inappropriate hardware for your wall type
One big mistake in woodworking is rushing the prep work. Take your time to measure your closet space carefully. Make sure your measurements are right before you cut any wood. Always use a level to ensure your shelves are straight and stable.
When designing your DIY closet shelves, think about how you’ll distribute the weight. Different materials and brackets can handle different amounts of weight. Choose strong materials like solid wood or high-quality plywood. This way, your shelves can hold the weight of your items without warping or breaking.
Getting professional results means careful planning and execution. Knowing these common mistakes can help you make closet shelving that’s both functional and durable. It will also show off your woodworking skills.
Budget-Friendly Materials and Alternatives
Home improvement projects don’t have to be expensive. When making shelving for your closet, you can find many affordable and green options. These can help you change your storage space without spending a lot.
Smart DIY fans can use cheap materials that are both useful and stylish. The trick is to think creatively and use what you have wisely.
Cost-Effective Options
- Plywood: Much cheaper than solid wood
- Reclaimed lumber from local construction sites
- Particleboard with laminate finish
- MDF (Medium-Density Fiberboard) shelving
Sustainable Materials
Eco-friendly homeowners can find shelving ideas that are good for the planet. These ideas help create efficient storage without harming the environment.
| Material | Cost | Sustainability Rating |
|---|---|---|
| Bamboo Panels | $25-$40 per sheet | High |
| Recycled Plastic Lumber | $30-$50 per board | Very High |
| Salvaged Wood | $10-$20 per board | Excellent |
Choosing affordable and green materials lets you make custom closet shelves. These shelves are both budget-friendly and good for the planet.
Advanced Tips for Professional-Looking Results
To take your custom shelving project to the next level, focus on details and smart design choices. A closet redesign is not just about storing things. It’s about making your storage space look polished and seamless.
For top-notch custom shelving, precision is key. Here are some advanced techniques to get you started:
- Use wood filler to create smooth, invisible joints
- Sand surfaces meticulously for a flawless finish
- Select high-quality paint or stain for a refined appearance
- Implement hidden mounting hardware for clean lines
Lighting can really make your closet redesign pop. Think about adding LED strips or soft accent lighting. This will make your custom shelving stand out and add depth to the space.
| Technique | Professional Impact | Difficulty Level |
|---|---|---|
| Mitered Corners | Seamless Joint Appearance | Advanced |
| Hidden Bracket System | Clean, Minimalist Look | Intermediate |
| Integrated Lighting | Enhanced Visual Appeal | Advanced |
By mastering these techniques, you can turn your DIY project into a pro-quality custom shelving masterpiece. It will look as good as any high-end closet installation.
Conclusion
Building your own closet shelves is more than a home project. It’s a way to save money and show off your style. You’ve learned to make custom storage that fits every inch of your closet.
You’ve picked up more than just shelving skills. You know how to measure, choose materials, and install systems for daily use. These solutions are not just useful; they show your creativity and problem-solving skills.
Keep in mind, closet organization is a continuous effort. Your new shelves are just the start. With planning and creativity, you can keep improving your storage. This makes your closet perfect for your needs.
Whether you’re new to DIY or have experience, making custom shelves changes cluttered spaces into organized areas. Feel proud of your work and enjoy a more functional closet.
FAQ
How much money can I save by building DIY closet shelves instead of hiring a professional?
DIY closet shelves can save you 50% to 70% compared to hiring a pro. Custom closet systems can cost thousands. But, a DIY project might only cost $100 to $500, depending on materials and size.
What basic tools do I need to build closet shelves?
You’ll need a tape measure, level, drill, and stud finder. Also, a circular saw or handsaw, hammer, screwdriver, and safety gear like goggles and gloves. Many of these tools are probably in your home already.
How do I determine the right shelf spacing for my closet?
Shelf spacing varies based on what you store. For folded clothes, use 12-16 inches between shelves. For hanging items, aim for 42-48 inches of vertical space. Adjustable systems let you change spacing as needed.
Can I install closet shelves in a rental apartment?
Yes, but be careful! Choose removable shelving like tension rod systems or freestanding units. Always get your landlord’s permission and be ready to restore the space when you move out.
What materials are best for DIY closet shelves?
Good options include melamine, plywood, solid wood, and wire shelving. Melamine is affordable and moisture-resistant. Plywood is durable, solid wood adds a premium look, and wire shelving is great for ventilation.
How do I ensure my shelves can support heavy items?
Use sturdy mounting brackets rated for the weight you’ll store. Mount them directly into wall studs if possible. For heavy items, use multiple support points and thicker materials like 3/4-inch plywood or solid wood.
How long does a typical DIY closet shelving project take?
A basic project can take 1-2 days for a beginner. This includes planning, measuring, buying materials, and installing. More complex designs might take a weekend. Prepare your materials ahead of time to make it easier.
Are there eco-friendly options for DIY closet shelving?
Yes! Use reclaimed wood, bamboo, or sustainably sourced lumber. You can also repurpose pallets into unique shelving. Choose low-VOC finishes and water-based stains to reduce environmental impact.
What’s the most common mistake people make when building closet shelves?
The biggest mistake is making wrong measurements. Always double-check your measurements before cutting. A small mistake can mess up your whole project.
Can I add lighting to my DIY closet shelving project?
Yes! Use battery-operated LED strip lights, motion-sensor lights, or plug-in LED fixtures. They’re easy to install and can make your closet look professional.
