
Imagine turning unused space in your home into something useful. A DIY murphy bed is a smart, stylish way to do this. It turns small living areas into rooms that can serve many purposes. This is great for anyone living in a small apartment or wanting to make a home office bigger.
Making your own fold-up bed is more than just a home project. It’s a chance to create something that shows off your style. With some basic woodworking skills and the right advice, you can make a murphy bed that fits perfectly with your home’s look. Plus, it will be a cozy place to sleep.
This guide will show you how to make a top-notch DIY murphy bed. You’ll learn about picking materials and how to install it. You’ll see how to make a bed that’s both useful and looks good.
Key Takeaways
- Murphy beds maximize living space in small rooms
- DIY construction allows for personalized design
- Suitable for apartments, home offices, and guest rooms
- Requires moderate woodworking skills
- Cost-effective alternative to store-bought murphy beds
Understanding Murphy Bed Basics and Benefits
Hideaway beds have changed the game for small spaces. They offer a smart way to use every inch of your room. These beds turn any space into a flexible sleeping area, saving precious floor space.
Hideaway beds do more than save space. They let homeowners quickly change a room’s use. This is a big win for those who love to switch up their living areas.
History of Murphy Beds
William Murphy created the first hideaway bed in San Francisco in the late 1800s. He made it to solve the problem of tiny living spaces. Soon, city folks everywhere were using these space-saving beds.
Modern Applications and Advantages
- Perfect for studio apartments
- Ideal for guest rooms
- Excellent for home offices
- Creates flexible living environments
Space-Saving Statistics
Studies show Murphy beds can save 30-40% of floor space. This is huge for people living in tight urban areas. It’s why these beds are more popular than ever.
Adding a hideaway bed lets you turn one room into many. It’s perfect for those who like to change up their space. It makes living in small areas both useful and fashionable.
Essential Tools and Materials for Your DIY Murphy Bed
Starting a woodworking project like a Murphy bed needs careful planning and the right tools. Home storage solutions require precision and the right tools for success. Before you start, make sure you have all the essential tools to bring your vision to life.
Your DIY Murphy bed project will need a wide range of tools and materials. Here’s a list of what you’ll need:
Essential Tools
- Circular saw or table saw
- Power drill with various drill bits
- Measuring tape and carpenter’s square
- Level
- Stud finder
- Sander
- Clamps
- Screwdriver set
Critical Materials
- Plywood or solid wood panels
- Murphy bed hardware kit
- Wood screws
- Wood glue
- Finish nails
- Wood stain or paint
Both professional woodworkers and DIY fans know quality tools are key. Good tools mean precision and durability in your Murphy bed project. While they might cost more upfront, they’ll last for many projects to come.
Always put safety first. Wear protective eyewear, use dust masks, and work in a well-ventilated area. Get to know each tool well before starting. And don’t rush through the project.
Planning Your Wall Bed Project: Measurements and Space Requirements
Creating a wall bed needs careful planning and exact measurements. Interior design tricks can turn a small space into a flexible living area. Before you start, it’s key to know your room’s size and how much space you need for a good install.
Assessing space right involves a few important steps. This ensures your wall bed works well and safely:
- Measure your room’s total floor space
- Calculate ceiling height clearance
- Identify potential obstructions like windows or electrical outlets
- Determine minimum operational space around the wall bed
Room Dimensions and Clearance Guidelines
When planning a wall bed, keep clear space in mind. Aim for 3-4 feet of open space in front of the bed when it’s out. This makes moving around easy and keeps you safe. Wall beds usually come in sizes from twin to queen, with widths from 40-62 inches.
Choosing the Right Wall Location
Finding the best wall for your bed is key. Look for walls without windows, heating vents, or electrical panels. Think about how close it is to outlets and where you’ll put furniture. Bedrooms, home offices, and rooms that do many things are great for wall beds.
Safety Considerations
Always put safety first with wall bed projects. Make sure the wall can hold the bed’s weight, which is usually 500-750 pounds when full. Using professional stud finders and secure mounting is crucial. It helps avoid accidents or damage to your home.
Selecting the Perfect Hardware Kit and Mechanisms
Choosing the right hardware kit is key for a convertible bed. It changes your living space. The success of your folding wall bed depends on the right mechanisms for your needs and skill level.
Different hardware kits have unique features for DIY fans. Think about these important factors when picking your hardware:
- Weight capacity of the lifting mechanism
- Ease of installation
- Smoothness of operation
- Compatibility with your mattress size
Professional-grade kits have essential parts for a smooth convertible bed experience:
- Spring-loaded lifting mechanisms
- Locking latches
- Support struts
- Mounting brackets
Budget-friendly options are good for beginners. Advanced kits have extra features like soft-close systems. Your choice should balance cost, complexity, and performance for a reliable folding wall bed.
Look for manufacturers that specialize in Murphy bed hardware. They offer quality components for smooth operation and long-lasting durability of your convertible bed project.
Step-by-Step Building Process: Frame Construction
Building a DIY Murphy bed is a big project that needs careful planning. It’s a great way to make your bedroom more useful. By adding a Murphy bed, you can turn a wall into a bed and more.
- High-quality plywood (3/4 inch thick)
- Wood screws and wood glue
- Drill and drill bits
- Measuring tape
- Carpenter’s square
Creating the Bed Cabinet
First, measure your bed size carefully. The cabinet’s success depends on these measurements. Use sharp tools to cut the plywood, making sure the edges are straight and the corners are right.
Your goal is to build a strong frame. It should hold the mattress and the lifting mechanism.
Installing Support Structures
Support structures are key for a safe Murphy bed. Add wooden braces at stress points to strengthen the frame. Use metal brackets for extra stability.
These steps will help avoid wobbling or weakness in the future.
Hardware Assembly Tips
Choosing the right hardware is crucial. Pick heavy-duty hinges and reliable lifting mechanisms made for Murphy beds. Before installing, test all parts to ensure they work smoothly and safely.
Installing the Lifting Mechanism and Springs

Installing the lifting mechanism is key to making a functional diy murphy bed. This part needs careful attention to work smoothly and safely.
Before starting, make sure you have all the tools and parts. You’ll need:
- Lifting mechanism kit
- Mounting brackets
- Screwdriver
- Level
- Drill
- Measuring tape
The first step is to place the lifting mechanism correctly in the bed frame. It’s important to align it well for a reliable and easy-to-use space-saving furniture piece.
- Find the right spots on the bed frame to mount the mechanism
- Use the right fasteners to secure the brackets
- Make sure the mechanism moves freely without any blockages
- Check the spring tension for balanced movement
When working with springs, always wear protective eyewear. Also, follow the manufacturer’s instructions closely. Wrong installation can be dangerous in your diy murphy bed project.
Professional tip: Take your time during this step. Hurrying can make the bed not work right and could be unsafe. Check all connections well and test the mechanism several times before putting it all together.
Cabinet Face and Trim Work: Adding Style to Function
Turning your Murphy bed into a stunning centerpiece of your multifunctional bedroom is all about design and details. The cabinet face is more than a cover. It’s a chance to show off your style and blend with your room’s design.
- Match your room’s decor with wood finishes or paint colors
- Choose materials that fit your home’s style
- Think about built-in storage or decorative panels
Design Aesthetics that Elevate Your Space
Interior design tricks can make your Murphy bed a stylish room feature. Look into these options:
- Shaker-style panels for a traditional look
- Sleek, minimalist designs for modern homes
- Textured finishes for added depth
Finishing Touches for Professional Results
Professional trim work can make your multifunctional bedroom look amazing. Think about decorative moldings, subtle hardware, and precise paint or stain techniques. These will give you a custom, polished look that shows off your unique style.
Mattress Selection and Installation Guidelines
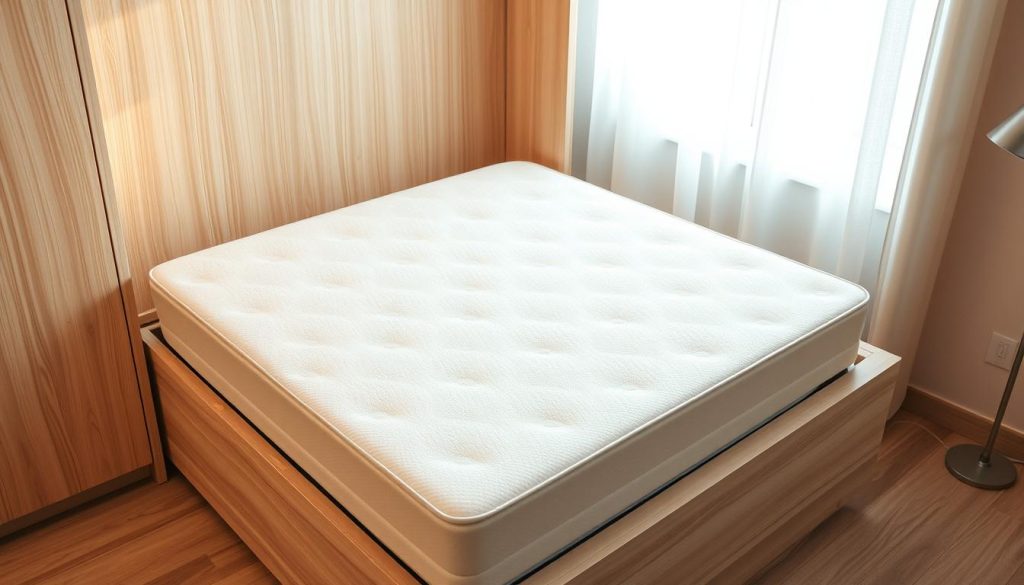
Choosing the right mattress for your hideaway bed is key for comfort and function. Not all mattresses fit well with fold-up beds. So, picking the right one is very important.
The best mattress should be light, flexible, and strong. It needs to handle being folded and unfolded often.
When picking a mattress for your Murphy bed, think about these things:
- Maximum thickness: 10-12 inches recommended
- Weight: Under 50 pounds for easy lifting
- Material: Memory foam or hybrid mattresses work best
- Firmness: Medium-firm provides optimal support
Proper installation is key for your hideaway bed’s performance. Measure your bed frame carefully. Make sure the mattress fits well without moving too much.
Use mattress straps or velcro to keep the mattress in place when folding and unfolding.
Some good mattress types for fold-up beds are:
- Memory foam mattresses with moderate density
- Latex mattresses with good flexibility
- Hybrid mattresses with thin profile
Always check the mattress’s weight and flexibility before installing it. This ensures your Murphy bed works smoothly.
Safety Features and Locking Mechanisms
When you’re making a wall bed, safety is key. A good wall bed needs strong locks and safety features. These keep everyone safe and protect your home.
Adding safety features makes your wall bed more than just a space-saver. It becomes a safe piece of furniture for your family and home.
Child-Safety Measures
Keeping kids safe around a wall bed is important. Here are some steps to take:
- Put in childproof locks to stop accidental openings
- Use strong safety latches that kids can’t open
- Make sure the bed moves smoothly and safely
- Place warning signs where they can be seen
Emergency Release Systems
Every wall bed needs a reliable emergency release. These features let you quickly and safely lower the bed in emergencies:
- Make a manual release handle easy to find
- Have a backup system that works without power
- Test the emergency system many times during setup
- Mark where to find the emergency release
By focusing on safety in your wall bed design, you make a useful home improvement. It gives peace of mind to everyone in your home.
Maintenance Tips for Long-Term Operation
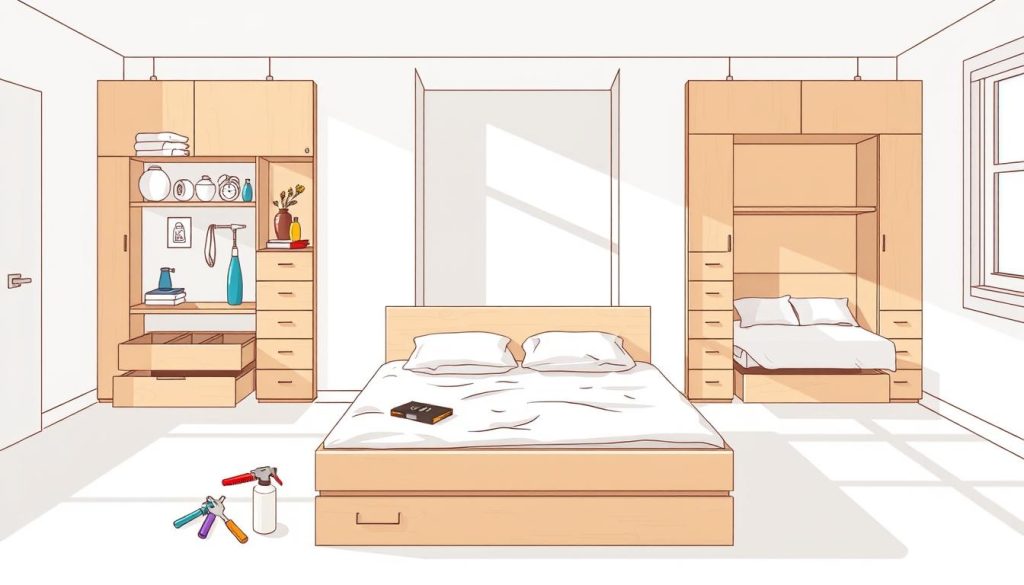
To keep your folding wall bed in great shape, you need to take care of it regularly. This ensures your bed works well for many years. Just a few easy steps can help you keep your bed in top condition.
There are a few important things to do for your Murphy bed’s upkeep:
- Check the lifting mechanism every six months
- Use lubricant on metal parts to avoid friction
- Make sure the cabinet is aligned and hardware is tight
- Wipe down tracks and moving parts gently
The spring system and mounting hardware are key to maintaining your bed. Regular checks can stop problems before they start. Dust and dirt in the tracks can make your bed hard to move.
It’s important to lubricate your Murphy bed to keep it running smoothly. Use a silicone-based lubricant on pivot points and springs. Stay away from oil-based products, as they can attract dirt and harm your bed over time.
- Use a soft brush to clean tracks
- Apply a light lubricant to moving parts
- Look for loose screws or bolts
- Check springs for wear
Always be safe when you’re doing maintenance on your bed. Make sure it’s fully closed and locked before you start. If you find big problems or strange noises, get help from a Murphy bed expert.
Customization Options: Storage and Multi-Functionality
Turn your Murphy bed into a space-saving superstar with smart design tricks. Gone are the days of simple shelves. Now, you can make your room a versatile haven with every inch used wisely.
Think about adding these cool storage and function ideas to your Murphy bed:
- Built-in Side Shelving: Perfect for books, decorations, or accessories
- Pull-Out Desk Configurations: A fold-down workspace that fits right into the bed cabinet
- Hidden Compartment Drawers: Secret spots for gadgets, linens, or personal stuff
- Adjustable Shelving Systems: Storage that changes with your needs
Built-in Shelving Ideas
Shelving can make your Murphy bed a standout piece of home decor. Try open shelving on the bed’s sides or a built-in bookcase for looks and function.
Desk Integration Options
Today’s furniture needs to be smart about workspaces. Design a desk that pops out when the bed is up. This creates a perfect office spot without losing living area. Your desk can have cable organizers, small keyboard trays, and lights for better work.
Common Mistakes to Avoid During Construction
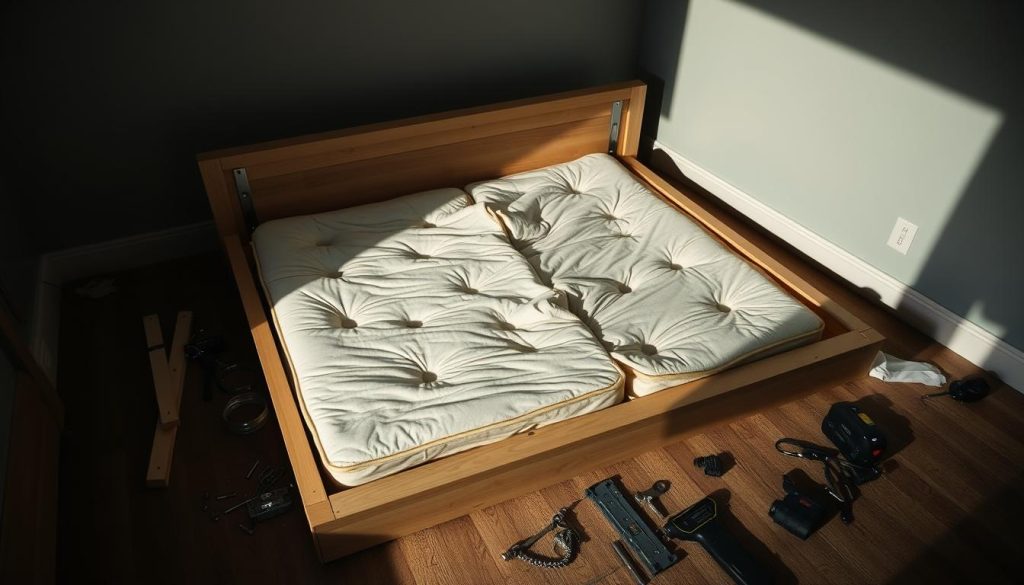
Starting a DIY murphy bed project is thrilling. But, many common mistakes can stop you from success. Knowing these pitfalls helps you build a strong, useful wall bed that changes your room.
Accuracy is key in woodworking. Mistakes in measuring can ruin the bed’s strength and use. DIY beginners often make big errors that make their bed unsafe or useless.
- Inaccurate measurements of room dimensions
- Selecting inappropriate hardware for weight support
- Neglecting proper wall stud identification
- Using incorrect wood types or low-quality materials
- Skipping essential safety mechanism checks
Building a sturdy murphy bed needs careful planning. Rushing can lead to serious problems. Always check your measurements, choose good materials, and follow hardware installation guides.
Choosing the right springs and lifting mechanisms is vital. Many beginners don’t realize how complex these parts are. Wrong springs or bad installation can be very dangerous.
- Research recommended hardware specifications
- Test weight distribution multiple times
- Consult professional woodworking resources
- Practice techniques before final assembly
Knowing these common mistakes boosts your chance of making a safe, useful, and lovely DIY murphy bed. It will make your living space better.
Conclusion
Building a Murphy bed is more than a weekend project. It’s a way to make the most of small spaces. You’ve learned to create furniture that saves space, improving your home’s efficiency.
Your Murphy bed shows off your creativity and practical thinking. It’s not just a bed; it’s a smart solution for your living space. It fits well in small apartments or home offices, adding both style and function.
Every step in making your Murphy bed brings you closer to a better living space. It might seem tough, but with good planning, you can do it. Enjoy the feeling of having a custom piece that fits your space perfectly.
Your Murphy bed project is just the start. It’s about finding new ways to make furniture that’s both useful and stylish. Keep looking for designs that make small spaces feel big and welcoming.
FAQ
How difficult is it to build a DIY Murphy bed?
Building a DIY Murphy bed is challenging but doable. You need basic tools and some DIY experience. It requires patience, precise measurements, and attention to detail.
While it’s not for beginners, many DIY fans succeed. They plan well and follow detailed instructions.
What tools do I absolutely need to build a Murphy bed?
You’ll need a circular saw, drill, measuring tape, and a level. A stud finder, socket wrench set, and basic carpentry tools are also essential. Don’t forget specialized hardware like lifting mechanisms.
Quality tools make the project easier and ensure a professional finish.
How much will a DIY Murphy bed cost compared to buying one?
A DIY Murphy bed costs $500-$1,500, depending on materials and hardware. This is less than pre-made beds, which cost $1,500-$5,000. Building it yourself saves money and lets you customize it.
Material costs include wood, hardware, finishing supplies, and a new mattress.
What type of mattress works best with a Murphy bed?
Memory foam or hybrid mattresses are best for Murphy beds. They’re thinner and more flexible. Choose a mattress that’s 8-12 inches thick and compatible with Murphy beds.
How much space do I need for a Murphy bed?
You’ll need 16-24 inches of floor space in front of the bed. Also, consider wall space for the cabinet. Murphy beds come in twin, full, or queen sizes. Measure your room carefully before starting.
Are Murphy beds safe for children’s rooms?
Murphy beds can be safe for kids’ rooms with the right safety features. Use strong locks, slow-close hinges, and childproof latches. Always supervise kids and teach them how to use the bed safely.
How long does it typically take to build a Murphy bed?
An experienced DIYer can build a Murphy bed in 2-4 weekend days. Beginners might need 5-7 days. Plan for time to measure, cut, assemble, and finish the bed.
Can I customize the Murphy bed’s appearance?
Yes! DIY Murphy beds offer complete customization. Choose wood, stains, paint, and add trim or molding. You can also add shelves or desks to the cabinet.
What weight capacity should I plan for in my Murphy bed?
Most Murphy bed mechanisms support 300-500 pounds. Choose hardware rated for slightly more than your expected weight. Always check the manufacturer’s specifications.
Do I need special permits to build a Murphy bed?
Most DIY Murphy bed projects don’t need permits. But, check local building codes, if you’re making wall changes. Confirm any restrictions in rentals or homeowners’ associations before starting.
